How to Create an Electronic Signature
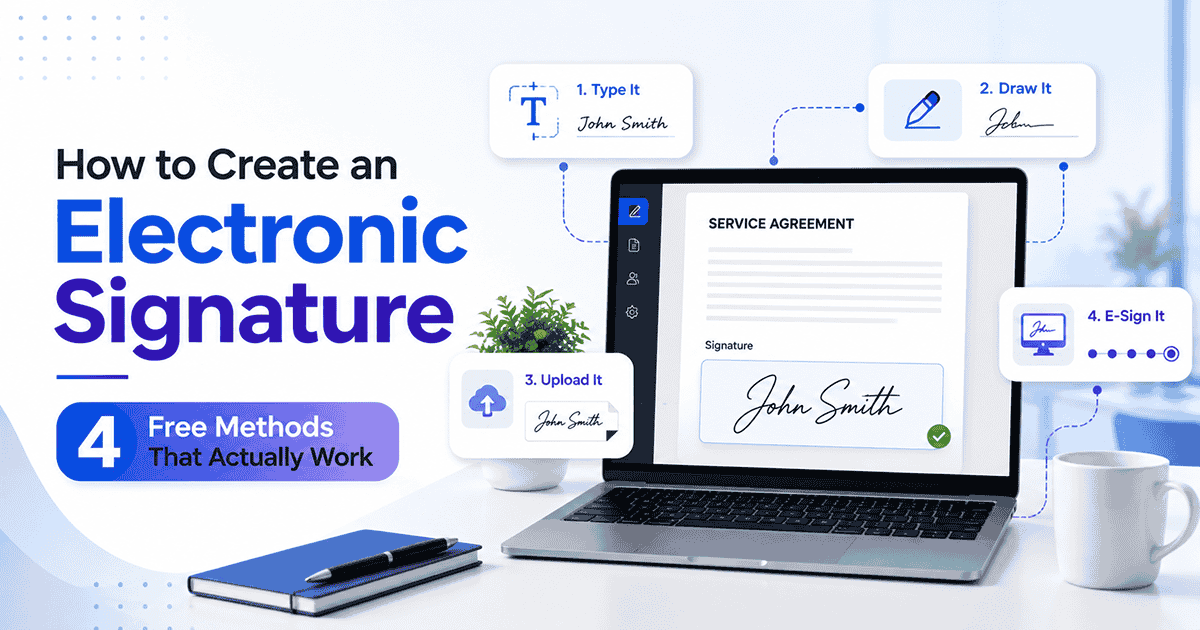
How to Create an Electronic Signature: 4 Free Methods
You've got a contract sitting in your inbox and the client is waiting. You could print it, sign it with a pen, scan it, and email it back — or you could learn how to create an electronic signature and get it done in under a minute. If you've never done it before, the process feels more intimidating than it actually is. This guide walks you through four free ways to create one, plus how to pick the method that fits the way you actually work — all of which you can do right now on Indigo eSign.
What Is an Electronic Signature?
An electronic signature is any electronic symbol, sound, or process attached to a document that shows the signer's intent to sign it. That definition comes from the U.S. ESIGN Act of 2000, and similar laws exist under the EU's eIDAS regulation, along with equivalents in the UK, Canada, and Australia.
In practice, an electronic signature can be:
- Your name typed in a standard or cursive font
- A signature drawn on a screen with your finger, mouse, or stylus
- An uploaded image of your handwritten signature
- A click-to-sign action inside a dedicated e-signature platform
All four are legally valid for the vast majority of business transactions — contracts, NDAs, offer letters, vendor agreements, and invoices. The exceptions are narrow: certain court filings, wills, and specific government forms may still require a wet-ink signature or notarization.
Method 1: Type Your Name
This is the simplest option and requires no special tools. You type your full name into a signature field, and the platform renders it in a cursive-style font. On Indigo eSign, this is the default signing option and takes just a few seconds to set up.
Best for: Low-stakes internal documents — team approvals, expense reports, or a scope-of-work change with a client you've worked with for years.
Limitation: A typed signature doesn't carry the visual weight of a handwritten one. It's legally just as valid, but in industries like real estate or finance, some recipients still expect something that looks more personal.
Method 2: Draw Your Signature on Screen
Open any e-signature tool, select the "draw" option, and trace your signature using your mouse, trackpad, or finger. The result looks closer to a traditional signature, which can matter for client-facing paperwork.
A few tips for a cleaner result:
- Use a tablet or phone with a stylus — drawing with a mouse usually looks shaky.
- Sign larger than normal, since the image gets scaled down once it's placed on the document.
- Give yourself two or three attempts; most platforms let you clear and redraw until it looks right.
Indigo eSign saves your drawn signature to your profile, so you only need to draw it once and can reuse it with one click for every future document.
Method 3: Upload an Image of Your Handwritten Signature
Sign a blank sheet of white paper with a dark pen, then photograph it in natural light with no shadows across the ink. Crop it tightly around the signature and save it as a PNG or JPEG.
Upload that image to your e-signature tool of choice. Indigo eSign accepts PNG, JPEG, and SVG files, and automatically strips the white background so it sits cleanly on top of any document.
This method produces the most authentic-looking result, since it's a scan of your real signature. It's a good fit for contracts, partnership agreements, or anything that may eventually be printed and filed.
Method 4: Use a Dedicated E-Signature Platform
If you sign more than a couple of documents a month, a dedicated e-signature platform saves real time. Instead of creating a signature and manually placing it on a PDF yourself, you upload the document, drop signature fields where they're needed, and send it. The recipient gets an email, clicks a link, signs, and both sides receive a completed copy with a tamper-proof audit trail.
When comparing platforms, look for:
- Audit trails — a timestamped, IP-logged record of who signed, when, and from where.
- Templates — save your most-used documents so you're not rebuilding them every time.
- Multi-signer workflows — send one document to several people in a defined signing order.
- Mobile signing — recipients should be able to sign from a phone without downloading an app.
- Fair pricing — some tools charge per document sent, while Indigo eSign offers unlimited signatures on every plan, including the free one.
Step-by-Step: Create Your First Electronic Signature with Indigo eSign
- Go to indigoesign.com and click "Start Free." No credit card required.
- Upload the document you need signed — PDF, Word, and image files are usually all supported.
- Drag and drop signature fields onto the document wherever a signature, initial, or date is needed.
- Choose your signature style — type it, draw it, or upload an image.
- Add recipient email addresses if others need to sign, and set the signing order if it matters.
- Send the document. Recipients get a secure email link and can sign from any device without creating an account.
- Download the completed file, which includes a full audit trail showing every signature, timestamp, and IP address.
For a single signer, the whole process takes under five minutes. For multi-party contracts, the timeline depends on how quickly recipients respond, though automatic reminders handle most of the follow-up.
5 Tips for Better Electronic Signatures
- Stay consistent. Use the same signature style across every platform and document so there's no confusion during an audit.
- Preview before you sign. Most tools show you a full preview — actually read the document instead of scrolling straight to the signature field.
- Save your signature to your profile so you can sign future documents in one click instead of recreating it each time.
- Use templates for repeat documents. If you send the same NDA or service agreement weekly, turn it into a reusable template.
- Turn on notifications so you know the moment a document is opened, viewed, or signed — useful when you need to follow up.
Common Mistakes to Avoid
Even a simple process can go wrong if you rush it. A few mistakes come up again and again when people first start signing documents electronically:
- Signing without reading the full document. A signature field at the bottom doesn't mean the rest of the page doesn't matter. Scroll through every page before you sign, especially on longer contracts.
- Using a blurry or poorly lit photo for an uploaded signature. Shadows, glare, and low resolution make the signature look unprofessional once it's placed on a clean document. Take the photo in daylight, directly above the page.
- Skipping the audit trail on important documents. For low-stakes internal approvals, this doesn't matter much. For contracts, leases, or anything that could end up in a dispute, always use a method that generates a timestamped, IP-logged record.
- Reusing an inconsistent signature style. Switching between a typed name on one document and a drawn signature on another can raise questions during an audit or legal review. Pick one style and stick with it.
- Forgetting to set a signing order for multi-party documents. If three or four people need to sign in sequence — say, an employee, then a manager, then HR — set that order up front so the document doesn't get stuck with the wrong person.
Avoiding these is mostly a matter of slowing down for the extra thirty seconds it takes to double-check the document, the image, and the recipient list before you hit send.
Choosing the Right Method for You
With four options on the table, the right choice usually comes down to two questions: how often do you sign documents, and how much does the visual result matter?
If you sign something once in a while — approving a teammate's request, initialing an internal memo — typing your name is the fastest path and requires zero setup. If you occasionally need something that looks more personal, drawing your signature on a touchscreen takes an extra thirty seconds and produces a more natural result.
If you're dealing with client-facing contracts, leases, or partnership agreements where appearance and authenticity matter, uploading a photo of your actual handwritten signature is worth the extra step of taking and cropping a photo. It's the closest thing to a wet-ink signature without printing anything.
And if signing documents is a regular part of your work — multiple contracts a week, or agreements that need several people to sign in order — a dedicated platform is worth setting up. The time saved on templates and multi-signer routing adds up quickly.
Frequently Asked Questions
Not quite. An electronic signature is any electronic indication of intent to sign — a typed name, a drawn mark, a clicked button. A digital signature is a specific type that uses cryptographic encryption to verify identity and confirm the document hasn't been altered. Most business documents only need a standard electronic signature; digital signatures come into play for high-security or government use cases.
Yes. In the U.S., the ESIGN Act and UETA make electronic signatures legally equivalent to handwritten ones for nearly all business transactions, and the EU's eIDAS regulation does the same across Europe. Canada, Australia, and most other countries have comparable laws. The exceptions are narrow — certain wills, court documents, and notarized forms may still require wet ink.
Yes. Indigo eSign offers a free plan with no credit card required — you can type, draw, or upload your signature and start signing documents right away. Some other tools limit how many documents you can sign per month or leave out features like audit trails, so it's worth checking before you commit to one.
They don't need one. When you send a document through Indigo eSign, the recipient gets an email with a secure link. They click it, sign directly in their browser, and are done — no downloads or account creation required.
Look for three things: encryption during transmission and storage, a tamper-proof audit trail, and authentication options such as email verification, access codes, or SMS verification. Indigo eSign includes all three on every plan, including the free one.
Yes. Indigo eSign is fully mobile-responsive, letting you create a signature, sign documents, and send them for signature directly from your phone's browser without installing an app.